How do you make an anime boy body?
0:0030:14How to Draw Anime Boy Body Proportions 3/4 View [No Timelapse]YouTubeStart of suggested clipEnd of suggested clipSo let's get started first off let's draw a vertical line for the center of the body. This is whereMoreSo let's get started first off let's draw a vertical line for the center of the body. This is where the characters can be and then align for the ground or the bottom of the character.
How do men draw anime muscles?
How to Draw Anime Muscular Male Body Step by StepStep 1 – Draw the Outline of the Body. ... Step 2 – Position the Collar Bones. ... Step 3 – Draw the Chest Muscles. ... Step 4 – Draw the Outline of the Abs. ... Step 5 – Draw the Individual Abs. ... Step 6 – Draw the Shoulder Muscles. ... Step 7 – Draw the Neck Muscles. ... Step 8 – Draw the Side Muscles.More items...
How do you draw a male body for beginners?
0:3911:38How To Draw The Male Body Oh So SIMPLE - YouTubeYouTubeStart of suggested clipEnd of suggested clipI believe when we get mixed. Up from here the simple part is doing your arms. And for beginners youMoreI believe when we get mixed. Up from here the simple part is doing your arms. And for beginners you have to know how far your arms are going to go you don't want your arms too.
How do you draw a man's body step by step?
0:4213:19How to Draw the Male Body at 3 Different Angles - YouTubeYouTubeStart of suggested clipEnd of suggested clipRight people how to draw the male human body we're going to three different angles. And the firstMoreRight people how to draw the male human body we're going to three different angles. And the first one's gonna be front facing. That's coming nice and symmetric.
How do you draw a full body guy?
7:4318:41How To Draw Male Torso Three Different Ways - YouTubeYouTubeStart of suggested clipEnd of suggested clipOn human while on on the male. Torso. This six-pack is actually this entire area here until theMoreOn human while on on the male. Torso. This six-pack is actually this entire area here until the third and a half head. Because this is where the crotch is being constructed.
How do men draw anime body with clothes?
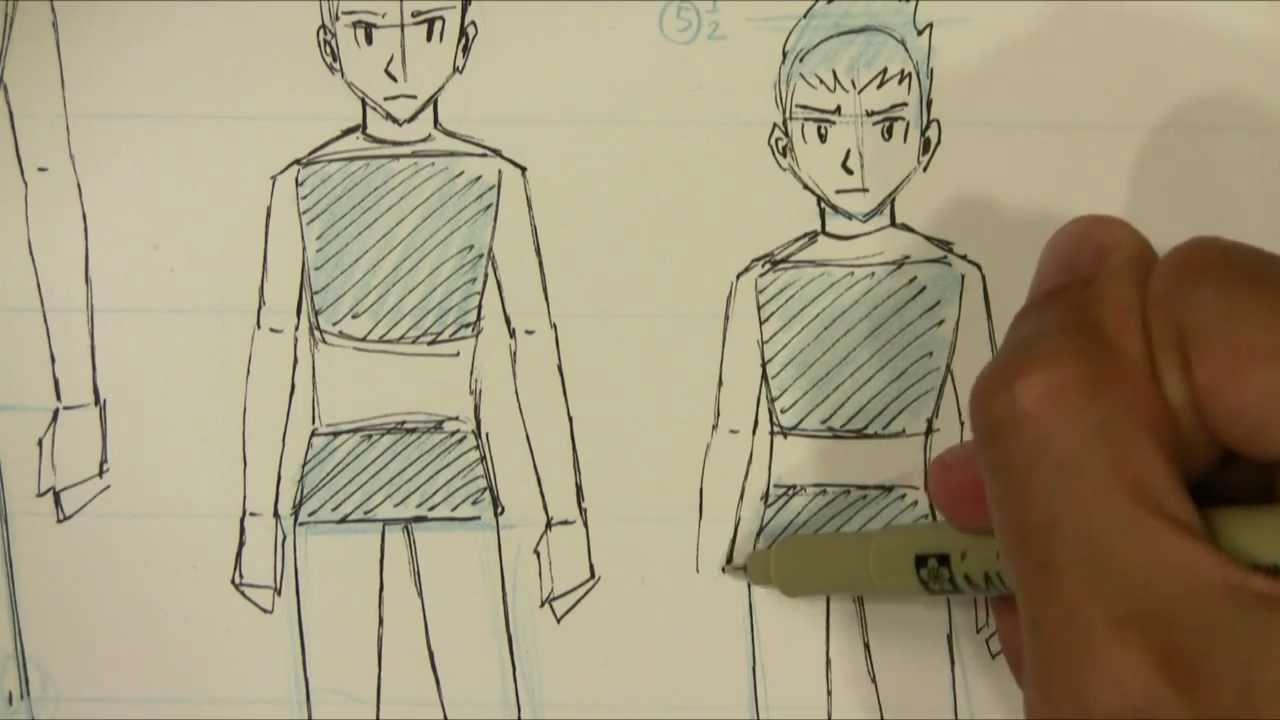
5:3610:42How to Draw Manga Boy Outfits! - YouTubeYouTubeStart of suggested clipEnd of suggested clipAnd wrist this guy is going to be wearing a style of pants called joggers the seam is often very lowMoreAnd wrist this guy is going to be wearing a style of pants called joggers the seam is often very low on this pant style i draw the waistband. And then two lines for the drawstrings.
How do you draw Aman?
How to Draw a Man — Let's get started!On the upper portion of your paper, draw an oval shape to create an outline of the man's head. ... Step 2 — Outline the Head and the Torso. ... Step 3 — Draw Both Arms Attached to the Body. ... Step 4 — Afterwards, Draw the Right Leg. ... Step 5 — Now, Complete Drawing Both Legs.More items...
How do you draw a waistline?
1:2024:21How To Draw HIPS & WAIST - YouTubeYouTubeStart of suggested clipEnd of suggested clipI'm going to use just lots of lines i'm using a very flat edge of my pencil for a very thick roughMoreI'm going to use just lots of lines i'm using a very flat edge of my pencil for a very thick rough line in this example rough egg shape tends to represent the chest for me.
How do you make a mouth?
0:108:26How to Draw a Mouth - YouTubeYouTubeStart of suggested clipEnd of suggested clipAnd two overlapping that upside-down triangle. So knowing those shapes kind of helps us get the formMoreAnd two overlapping that upside-down triangle. So knowing those shapes kind of helps us get the form of the mouth because from here we can create the line created between our lips.
How to draw muscular male anime?
Draw the outline of the body as follows: Make a vertical line through the middle of the drawing area to help see if both sides of the body will be of relatively equal width. Draw a hint of the head (or the entire head if it’s easier for you). Add the neck going down from the bottom of the ears.
How to draw a trapezius?
Draw a hint of the head (or the entire head if it’s easier for you). Add the neck going down from the bottom of the ears. You can draw it just a tiny bit wider towards the bottom. Going downwards from the neck in light curves draw the trapezius muscles.
How to draw a sprite?
Draw the outline of the body as follows: 1 Make a vertical line through the middle of the drawing area to help see if both sides of the body will be of relatively equal width. 2 Draw a hint of the head (or the entire head if it’s easier for you). 3 Add the neck going down from the bottom of the ears. You can draw it just a tiny bit wider towards the bottom. 4 Going downwards from the neck in light curves draw the trapezius muscles. 5 Down from the trapezius draw the shoulders with just one curve each. 6 Add a hint of the arms. Make them fairly thick as this is a muscular character. 7 Down from the arms draw the body getting narrower and then doing a sort of “wave shape” around the waist area where it gets wider and then narrower again. 8 From the waist area the body will get wider again as it transitions into the hip/leg areas.
How does the body get wider?
Down from the arms draw the body getting narrower and then doing a sort of “wave shape” around the waist area where it gets wider and then narrower again. From the waist area the body will get wider again as it transitions into the hip/leg areas.
Can you draw anime characters on paper?
It’s important to note this as sometimes anime characters can be drawn with very exaggerated proportions to look absolutely huge. If drawing on paper it’s recommended that you make light lines up until the final step of the tutorial. This will make it easier to erase any potential mistakes.
How to draw anime body?
To draw an anime body, start by drawing a stick figure with small circles at the joints and triangles for the hands and feet. Then, draw the head, neck, and torso with a waistline on top of the stick figure outline. Finish the body by drawing the limbs, using the joints to guide you.
How to draw a chin in a circle?
1. Draw a head at the top of your paper. Place a circle near the top center of the page so there’s enough room to add hair later on. Put the point of the chin slightly outside the bottom edge of the circle since the jaw will come lower down.
How to draw a mitten?
Once you reach the point where the body is it’s narrowest, put circles inside the tubes you’re drawing for the arms to mark the elbows. Continue extending the tubes down to the bottom of the hourglass and sketch small circles for the wrists. Draw mitten shapes for the hands attached to the ends of the arms.
How to draw a sprite?
1. Make an oval with a pointed bottom near the top of your paper for the head. Place the oval in the top middle of your paper so you have enough room to add hair later on. Draw angled lines down from either side of the oval that extend down to form the jaw line.
How to draw an hourglass?
Sketch an hourglass shape with 2 circles in it for the torso. Draw the top line of the hourglass shape slightly below the chin to form the shoulders. Draw curved lines going toward the center line, and flare out the bottom of the hourglass shape so it’s slightly wider than the shoulders for the hips.
Step 6: Draw the naval line
This is the bottom of 3rd circle.Draw a small circle for the belly button
Step 8: Draw the rib cage
Draw two inverted triangles from rib cage line. From there two lines nearly straight down to the bottom of the 3rd circle.
Step 9: Draw the Crotch
The crotch line is the bottom of 4th circle. Draw two lines inverted downwards to the bottom of the 4th circle.
Step 11: Draw the thighs
From the top of the 4th circle down to the knee line. The line down should be a slight curve down. The inside lines should be angled to the crotch
Step 12: Draw the lower legs
From knees draw legs down to the bottom of the 8th circle.The lower legs line should curve out a bit for the calves and then become slim around the ankle
Step 14: Draw the lower arm and hands
Then from the elbow down to just below the crotch line. Draw circles for hands

Step 2 – Clean Up Your Drawing
- Once you have sketched out the proportions clean up the sketch so that you have an outline drawing of the body.
Step 3 – Draw The Details
- Onto the cleaned up drawing of the body add the details such as the hair and facial features. For a character like the one in this example that is not overly muscular but still fairly fit you can just add some hints of the chest and stomach muscles. For more help on drawing these see: 1. How to Draw Male Anime Eyes 2. How to Draw Anime & Manga Male & Female Hair For drawing muscul…
Step 5 – Add Colour and Shading
- To color and shade our character you can use what is known as “Cel Shading”. Shading with no gradients commonly used in anime. We will shade the character according to normal lighting conditions (outside during daytime or inside in a well lit room). The main light source will be above and in front of the character. This means the main shadow will be below such as the shadow on …
Conclusion
- Once you have finished the shading you are done with the tutorial. If you are also looking for help on drawing the female body in the anime style you can check out the How to Draw an Anime Girl Body Step by Step Tutorial. For drawing a younger male character you can see: How to Draw an Anime Boy Full Body Step by Step
Popular Posts:
- 1. what are good anime streaming sites
- 2. a leap in time anime
- 3. don't speak anime
- 4. did japan sexuilize anime on purpose to increase birthrate
- 5. what is the best romantic anime
- 6. can you download anime from kissanime
- 7. how to draw anime butts
- 8. how to watch an anime
- 9. is there an anime convention
- 10. how to watch anime on macbook