Use the select all command and then the cut command. Scale the image up until it is about 5-10 inches taller than the height of the actual subject being portrayed. Next, place a guideline that is about two inches from the top, and then another marker that is [2" + height of subject] from the top of the image.
Full Answer
What makes animecutout unique?
Every cutout is literally unique only to you! 9/18/2019 V2 AI Technology allows 6x more details than V1 as shown in the video! Millions of community art, tens of thousands of characters, dozens of exclusives. At animecutout we help you turn ideas into physical LIFE SIZE CUT OUTS!
How to make a life size cardboard cutout?
DIY Life-Sized Cardboard Cutout. 1 Step 1: Take Some Pictures. You want to photograph the subject on the cleanest possible white background. It also advisable to avoid harsh lighting ... 2 Step 2: Adjust Levels, Brightness and Contrast. 3 Step 3: Crop the Image. 4 Step 4: Paint It White. 5 Step 5: Scale to Size. More items
How do you make a picture into a life size image?
Next, place a guideline that is about two inches from the top, and then another marker that is [2" + height of subject] from the top of the image. Paste the image into the frame, and scale it until the head is at about the first marker, and the center of the feet is about on the second marker. Your image is now roughly life-sized.
What size photo should I use for my cardboard cutout?
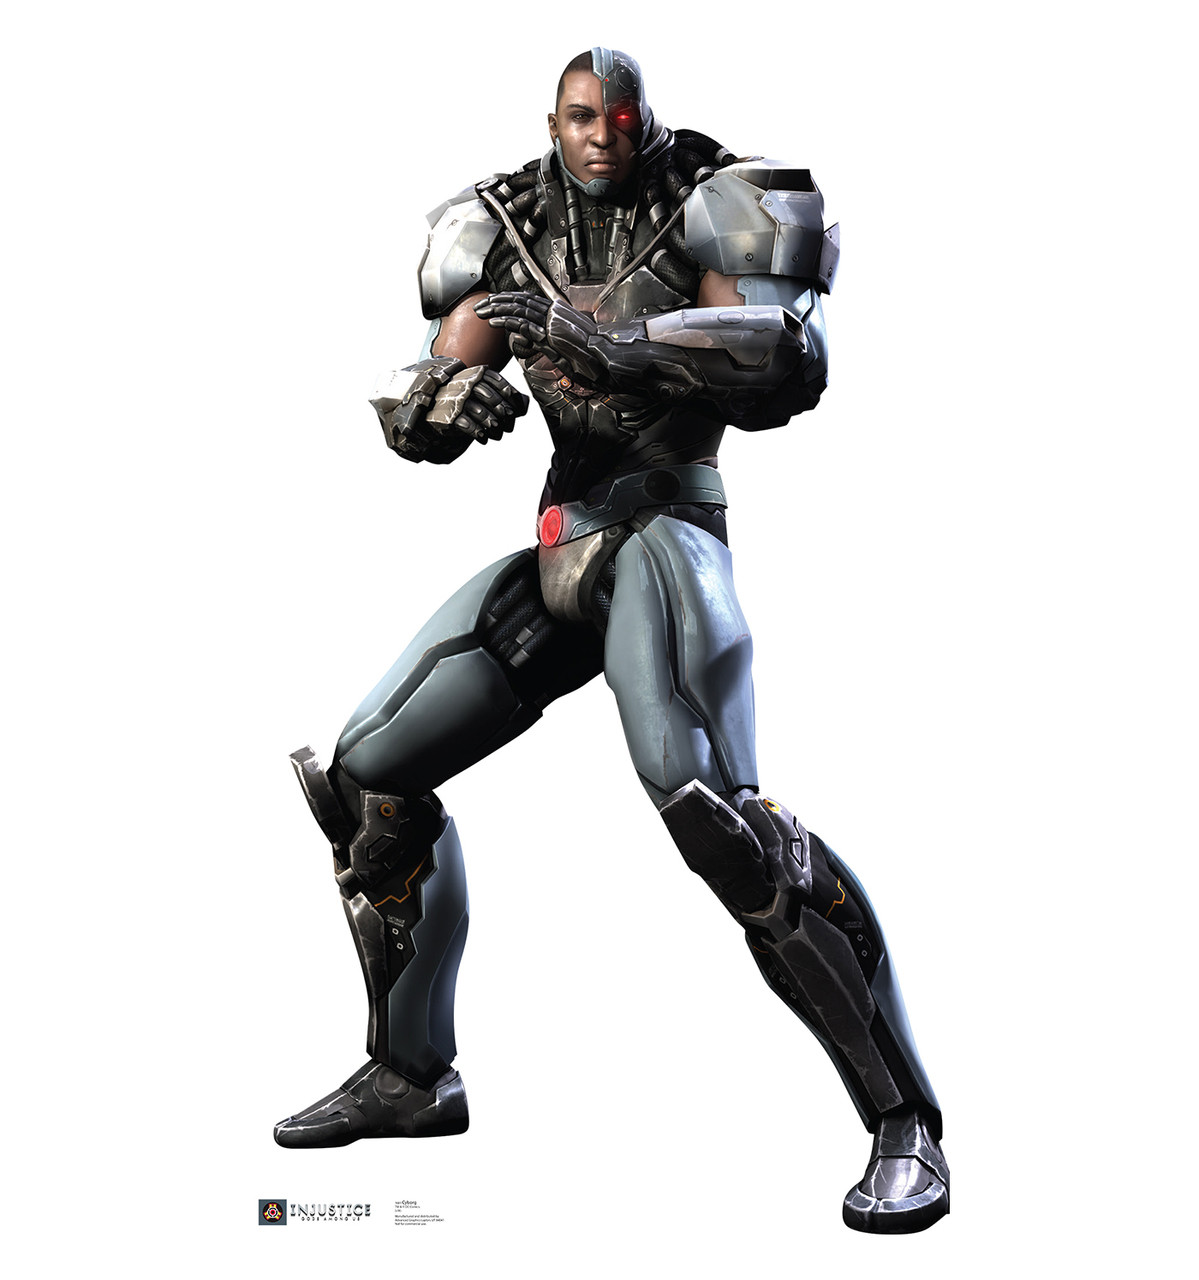
No matter what image you would like to display on your cardboard cutout, the only way to produce a visibly pleasing one is to use a high-resolution image that can be blown up to size without sacrificing quality. A good rule of thumb for large pictures is to only use picture sizes over 10 megapixels to ensure clean lines throughout your image.

What is animecutout?
Millions of community art, tens of thousands of characters, dozens of exclusives. At animecutout we help you turn ideas into physical LIFE SIZE CUT OUTS! You just give us the design, or we design it for you (extra charges may apply) and we handle the rest!
What is AI vectorization?
AI-Vectorization Process allows building of individual groups of pixels into vector patterns. These blob of pattern can scale infinitely, allowing low res picture to look significantly less blurry, and gives cutout an unique artistic feel when viewing up close! All at 99.9% of original image quality! Due to nature of Artifical Intelligence, every cutout will look different even if given the same picture twice! Every cutout is literally unique only to you!
Step 1: Take Some Pictures
You want to photograph the subject on the cleanest possible white background. It also advisable to avoid harsh lighting and shadows. To accomplish this I used a seamless paper backdrop held aloft by two C-stands.
Step 2: Adjust Levels, Brightness and Contrast
Using your photo editing software of choice (mine is Photoshop ), adjust the levels, brightness and contrast. In Photoshop, I first open the 'Levels' adjustment window and use the white eyedropper to select a spot on the backdrop. This assigns the backdrop as the most white portion of the image, and re-calibrates the image as such.
Step 3: Crop the Image
Once the image is color corrected, crop the image in close on the subject to remove everything but the white background.
Step 4: Paint It White
Using the magic wand selection tool, create an outline around the subject. Create a new layer, and paint this layer white. If the white is covering up any part of the image, erase it.
Step 5: Scale to Size
Use the select all command and then the cut command. Scale the image up until it is about 5-10 inches taller than the height of the actual subject being portrayed. Next, place a guideline that is about two inches from the top, and then another marker that is [2" + height of subject] from the top of the image. Paste the image into the frame, and scale it until the head is at about the first marker, and the center of the feet is about on the second marker.
Step 6: Print
Print the image without any scaling using a large-scale color plotter printer. If you don't have access to such a printer, take your file to your local print shop or copy center and have them print it for you.
Step 7: Trim Down
Cut a rough outline around your subject to remove as much of the background as possible. This is a rough first pass and shouldn't go in too close. This step is just about removing unnecessary paper to make it easier to work with.

Popular Posts:
- 1. can we wacth anime on twitch stream
- 2. would you rather anime character edition
- 3. where can i watch the anime another
- 4. how a realist hero rebuilt the kingdom anime dub
- 5. is demon slayer best anime
- 6. how to draw anime blood
- 7. is the one piece manga better than the anime
- 8. how to be a good anime drawer
- 9. where to read anime fanfiction
- 10. what is a good place to watch anime