
How do you draw anime hair easy?
Drawing Neatly Combed Anime HairDraw the head and hairline. ... Draw the side sections of the hair with steady cures somewhat hugging the shape of the face. ... Add some small hair clumps for the bottom background hair.Finally you can add a little clump of hair hanging down from the middle of the front section of the hair.
How do you make anime hair?
1:2913:38How to Get ANIME Hair - TheSalonGuy - YouTubeYouTubeStart of suggested clipEnd of suggested clipSo it is an undercut. Right it is an undercut as you can see right through here so if you're gettingMoreSo it is an undercut. Right it is an undercut as you can see right through here so if you're getting any sort of anime type of haircut.
How do you color anime hair?
0:032:39EASIEST WAY TO COLOR ANIME HAIR - YouTubeYouTubeStart of suggested clipEnd of suggested clipThe first step is to select the solid color of your preference. And use the bucket tool to fill theMoreThe first step is to select the solid color of your preference. And use the bucket tool to fill the entire area of the hair. This would be your base.
How do you draw a cartoon girl's hair?
1:3426:47How To Draw Hair For Women & Girls: CARTOONING 101 #9YouTubeStart of suggested clipEnd of suggested clipPart here of the upper portion of the head this represents the cranium or the top part of the skull.MorePart here of the upper portion of the head this represents the cranium or the top part of the skull. This is kind of important because the hair itself grows out and away from the scalp.
How do I look like an anime?
0:396:52How To Look Like An Anime Character - YouTubeYouTubeStart of suggested clipEnd of suggested clipOn how to give your look a more anime look. So if you like to know how to turn yourself into anMoreOn how to give your look a more anime look. So if you like to know how to turn yourself into an anime character then keep on watching my first tip is wear circle lenses feel like circle lenses.
How do you get anime eyes?
To get anime eyes, apply a concealer or foundation around your eyes that is lighter than your skin tone so you have a base to work with. Next, add eye primer to help keep your makeup in place and make the look more long-lasting.
How do you make an anime smile?
2:3138:54HOW TO DRAW SMILING HAPPY EXPRESSIONS (Real Time)YouTubeStart of suggested clipEnd of suggested clipThis will be doing the same sort of thing but just a little bit wider. And sweeping down to theMoreThis will be doing the same sort of thing but just a little bit wider. And sweeping down to the outside edge a bit more. And then i'm just going to come down. Here bring in that shape.
How do you make anime skins?
1:256:29How to Blend Anime Skin TUTORIAL - YouTubeYouTubeStart of suggested clipEnd of suggested clipSo as you can see it made the skin a bit more gradient just to add a bit more warmth i'm going toMoreSo as you can see it made the skin a bit more gradient just to add a bit more warmth i'm going to put some below the eyes on the ears on the nose. And on the lips.
How do you color anime eyes?
1:083:02EASIEST WAY TO COLOR ANIME EYES - YouTubeYouTubeStart of suggested clipEnd of suggested clipThen choose a light color to add a highlight for the eye. Now listen this is optional. But by doingMoreThen choose a light color to add a highlight for the eye. Now listen this is optional. But by doing this your enemy lies we tell to another level wash this literally.
How do you draw comic hair?
0:3117:20Comic Book Style Hair -Tutorial Narrated by Robert MarzulloYouTubeStart of suggested clipEnd of suggested clipIn a bigger block your form. You. Really don't want to sit there and draw single strands of hairMoreIn a bigger block your form. You. Really don't want to sit there and draw single strands of hair because you'll get a very stringy kind of spaghetti-like hairdo.
Why is drawing hair so hard?
Hair is very difficult to draw, because what we see is different than what we know. You can't simply draw all the hairs in the form of lines, because that's not what we see when we look at hair. What we see must be simplified to lines and shades, and there are many ways to do it.
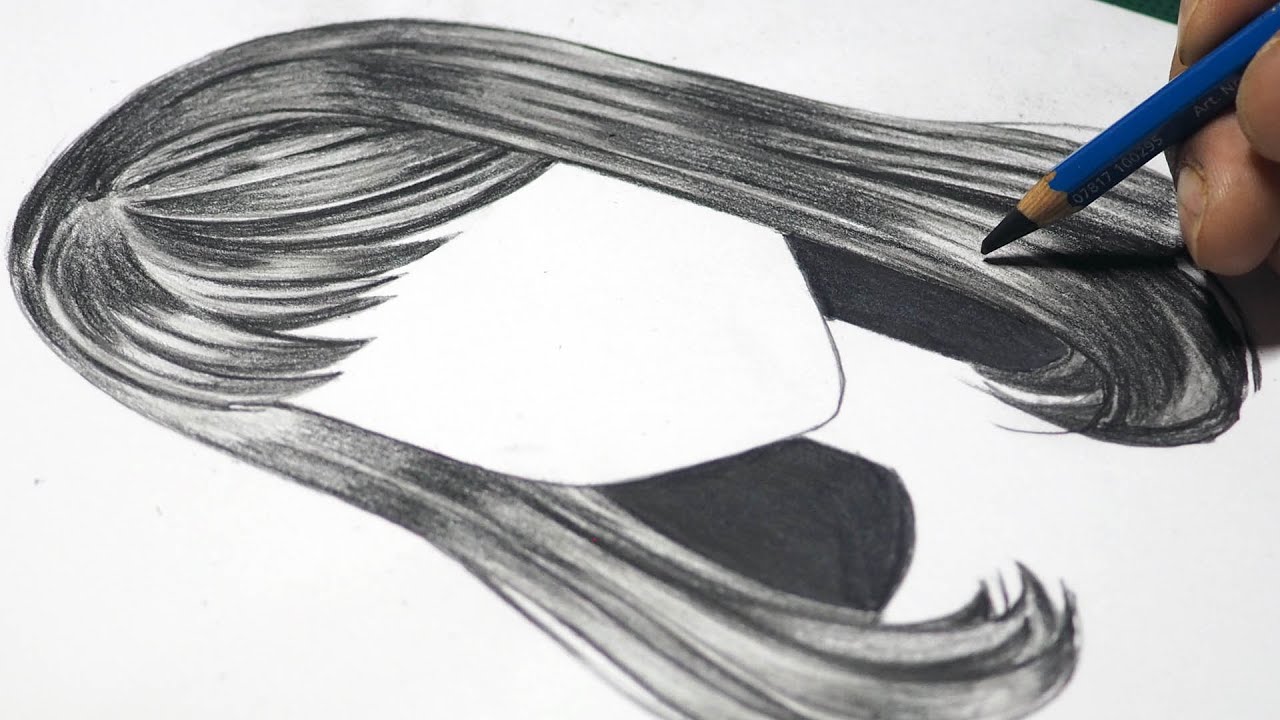
How do you sketch your hair with a pencil?
1:4112:11HOW TO DRAW HAIR in Just 5 Steps! - YouTubeYouTubeStart of suggested clipEnd of suggested clipUsing lines going in the direction that the hair is going in and I'm being very light with this andMoreUsing lines going in the direction that the hair is going in and I'm being very light with this and then I add a bit more pressure to get in some of the shadows.
How to draw anime hair?
To draw anime hair, start by drawing the outline of the head and the hairline. Next, draw the basic outline of your desired hairstyle, making sure to focus on which direction the hair strands flow. Then, add details to make the hair more realistic, and emphasize the outlines by tracing over them with a dark marker.
How to draw hair that blows one way?
Sometimes when I draw the hair, it looks like it blows one way, but then other strands are blowing the other way. Stand by a mirror, get your blow dryer or a fan, and test it out. Observe how your hair is blowing. If you have short hair, ask a friend or family member to stand in.
Do you have to draw a character with bangs?
It's just where the hair starts. If you're drawing a character with bangs, where their hairline is not seen, you don't necessarily have to draw it - but it could help you get a clearer idea of the proportions of their face if you draw it and then erase it. Thanks!
Can you use shadow hair to fall over eyes?
You could use the shadow of the hair to fall over the eyes giving it a gloomy look. Spiked hair can look evil sometimes. Slicked, oily hair can give the impression of being greasy in character as well as in hair. Check out cartoon character and movie villains for an idea of what might work.
How to tell if your hair is curly?
From the hairline draw two lines going towards the sides of the head to indicate the front hair. To show that the hair is curly you can draw these lines in light waves.
Why is anime hair drawn in clumps?
One good reason for this is that if you are drawing multiple frames of animation or multiple panels of a manga it will simply be too time consuming to draw anything overly detailed.
What is the hardest hairstyle to draw?
Anime curly hair drawing breakdown. Curly hair is probably the most challenging anime hairstyles to draw. This particular hairstyle can again be split into the front sides and back with the front hair being similar to the previous example. Anime curly hair step by step drawing.
What is the most common hairstyle in anime?
Long straight hair is probably one of the most common hairstyles in anime and is fairly easy to draw. Above you can see the breakdown of the long hair drawing example into: Red – Front Hair. Green – Side Hair. Blue – Back/Top Hair. You can apply a similar breakdown to drawing other hairstyles as well.
How many parts does anime hair have?
Anime neatly combed hair drawing. This hairstyle can again be split into three parts with the front, side and back hair. The front section of the hair however is a little different from the previous examples. Anime combed hair step by step drawing.
What is anime hair?
The pigtails are another very common style of anime hair. Same as the ponytail example you can see that this particular drawing can pretty much be broken down into the front and back section of the hair. With the “back hair” split into the hair covering the head and the pigtails. There are really only tiny bits of actual “side hair”.
Can you split hair over one eye?
For the hairstyle with hair over one eye you can yet again split the hair into the front, sides and back. In this style the front section of the hair will be fairly large and sort of merge into the “side hair” next to the covered eye.
What is underdrawing in art?
An underdrawing is a loose sketch that is done first, before the final drawing. (it sits under the final art). This is really easy to do with digital art since you can work on a new layer for the final line art. If you are using a pencil, draw lightly with a hard grade scale pencil (like a 4H).
How to draw anime girl hair?
To draw anime girl’s hair, first gain a basic understanding of where the head is beneath the hair, then draw a detailed sketch as an underdrawing, then draw final line art on top of the sketch, and finally finish the drawing with basic shading.
How to draw a bald person?
In step 1: identify the location of the head. You can even draw a bald character before you map hair onto their head. Step 2: in the underdrawing stage I am focused on shapes, (overall shape of the hair), and lines leading to the tips of the hair in different areas. Step 3: here is the final step for this example.
What is the difference between anime and manga?
Although anime usually refers to animated, and manga usually refers to drawn (printed) art , the general style and approach to drawing is the same.
Is underdrawing step 1 and 2 the same?
So here is the underdrawing step. We identified it earlier as step 2. However, as you get better, you will inevitably complete step 1 and step 2 at the same time.
How to draw anime girl eyes?
Start by sketching a curved upper eyelid, then draw a short line extending down from the outer corner of the eye. Leave the inner corner of the eye open for a softer look. Then, add a circle in the middle of the eye as the iris. Draw a smaller circle—the pupil—in the middle of the iris.
How to draw anime characters?
While artists have varying preferences about how to structure an anime character’s head and face, they all start with the same basic principle: First draw a circle, and then draw a horizontal line and vertical line directly ...
How long should an anime character's legs be?
The legs of an anime character should be approximately as long as the top half of the character, from the top of the head to the waist. Finally, add in the arms. A good rule of thumb is to align the elbow with the character’s waist, and then extend the rest of the arm (including the hand) to about mid-thigh.
How to make a reflection in the eye?
Leave the inner corner of the eye open for a softer look. Then, add a circle in the middle of the eye as the iris. Draw a smaller circle—the pupil—in the middle of the iris. To create primary and secondary light reflections, add in one or two additional circles within the iris.
What pen do you use to highlight a character?
While you will mostly ink with a black pen, it can also be helpful to have a white jelly pen on hand—you can use this to add highlights, like the reflection points in the character’s eyes. You may also choose to add additional colors with colored pencils or medium of your choice.
What is the difference between a character's nose and mouth?
The character’s nose and mouth will typically be much smaller and simpler than the eyes. The nose, for instance, may just be two small lines that represent the nostrils. Similarly, the mouth may be a simple curved line.
Drawing Anime Girl Hair Step-By-Step – Example 1
Drawing Anime Girl Hair Step-By-Step – Example 2
- In step 1: identify the location of the head. You can even draw a bald character before you map hair onto their head. Step 2: in the underdrawing stage I am focused on shapes, (overall shape of the hair), and lines leading to the tips of the hair in different areas. Step 3: here is the final step for this example. Final line art is drawn over the u...
Drawing Anime Girl Hair Step-By-Step – Example 3
- Step 1: Again, I identified the outline of the head so we can see how the hair maps onto it with this particular hairstyle. Step 2: Here is the underdrawing for this example. You can see that I am deciding on the overall shape out the outline. Try to finalize the silhouette of the hair in this stage if you can, and leave the details to step 3. Step 3: Here you can see the overall shape is the sam…
Drawing Anime Girl Hair Step-By-Step – Example 4
- So here is the underdrawing step. We identified it earlier as step 2. However, as you get better, you will inevitably complete step 1 and step 2 at the same time. You will draw the underdrawing of the hair and identify where the head shape is as you do so. You can also try a final line art variation where you use a heavier line weight for the outline and thinner lines for definition inside the hair …
Drawing Anime Girl Hair Step-By-Step – Example 5
- Here, let’s go back to step 1, and identify where the structure of the head is before we draw in the hair. We are coming back to this because I want to highlight that this step is extremely important. It can happen in your mind or on canvas, but it really does need to happen. You should understand where the hair maps on top of the head before going further. Step 2 and Step 3: in this example, …
Drawing Anime Girl Hair Step-By-Step – Example 6: Asuka from Evangelion
- In this image, I am again showing the outline of the head for reference. And here is the actual underdrawing sketch for this piece. You can see that a lot of scratchy indecisive lines come through. It was okay for me to do that at this stage because I knew I would replace these lines with better final line art. In this step, I worried little about how the lines look, instead I spent mos…
How to Draw Anime Girl Hair For Beginners – Final Thoughts
- Practice, practice, practice! Drawing an anime girl’s hair is not an easy thing to draw. Getting better at drawing anime hair should consist of both learning through tutorials and practicing what you learned through drawing. Draw every day and draw lots of hair. Find anime and manga artists who inspire you most and try to study their art and draw studies from their work. By the way, ther…
Popular Posts:
- 1. are anime blu rays worth it
- 2. cómo se creó el anime
- 3. is death note a good starter anime
- 4. do muslims watch anime
- 5. what anime character has my birthday
- 6. are the two anime when they cry and another connected
- 7. when is anime legends coming out roblox
- 8. is aot anime done
- 9. where to read anime light novels online
- 10. will there be a drifters anime season 2