How to draw animals for beginners?
- Begin with an oval shape for the body, and then a smaller circle for the head.
- Place the eyes and the ears.
- Begin to draw the legs and tail, and add more detail to the facial features including the mouth.
- With an eraser, clean up the structural lines and then add a few details. The ruff of fur on the baby tiger’s belly and its claws, for example.
- Now the fun part! Add those tiger stripes in parallel lines, tapering the ends here and there so they look real. ...
How to draw cute animals?
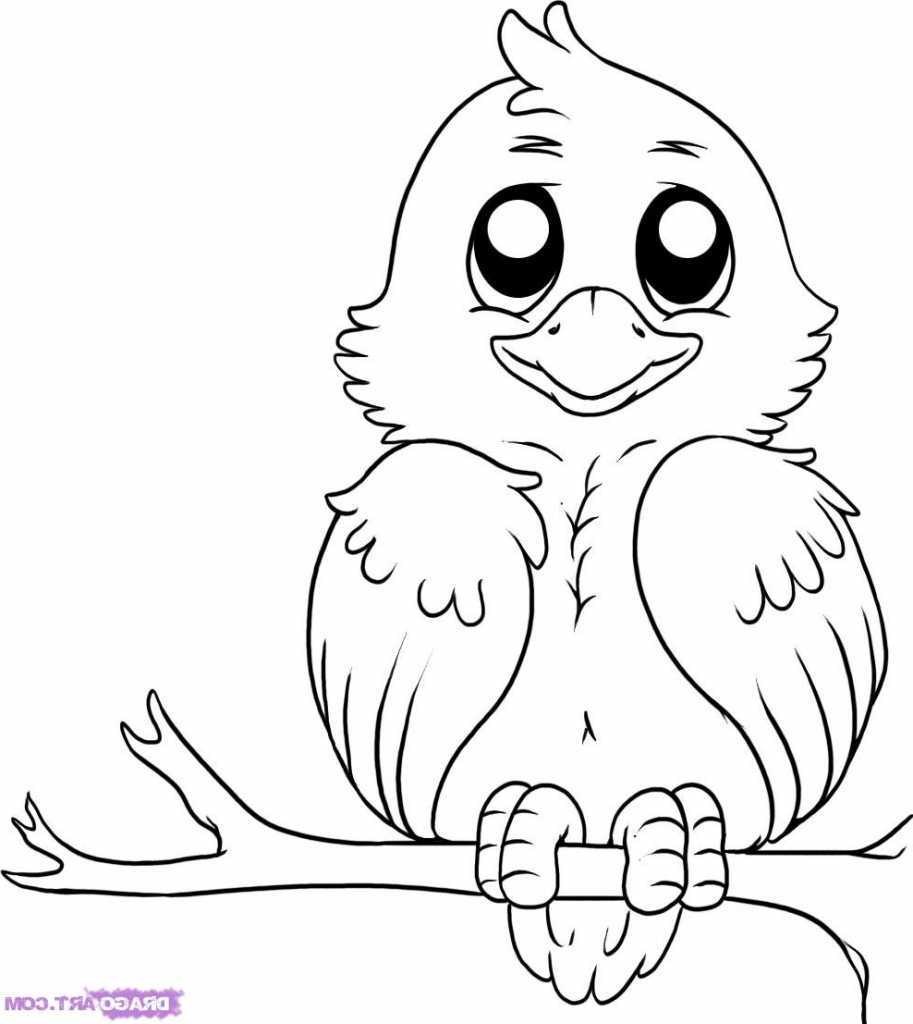
To draw cute animals, make their eyes bigger and rounder than you normally would since it will make the animals look cuter. Also, draw small, button noses, and use 2 small curves to draw each mouth so it looks like your animals are smiling. You should also give your animals cute, rounded ears, as well as tiny narrow legs.
How to start drawing anime?
Written Resources
- /ic/ Fundamental Art Advice Support Page. If you've never visited 4chan, the site consists of several sub-communities. ...
- Complete Guide on How to Draw Manga. The folks behind Corel Painter, a piece of drawing software used by many artists, offer a collection of art tutorials meant to get ...
- Clip Studio Paint Manga Tutorials. ...
What are the steps to drawing anime?
The shape of the lower part of the face is as follows:
- Two downwards lines slightly angled inwards (towards middle of face)
- A pair of light curves
- Two more downwards lines that face more inwards than previous pair
- Small curve for the chin

How to draw anime characters?
While artists have varying preferences about how to structure an anime character’s head and face, they all start with the same basic principle: First draw a circle, and then draw a horizontal line and vertical line directly ...
How to draw anime girl eyes?
Start by sketching a curved upper eyelid, then draw a short line extending down from the outer corner of the eye. Leave the inner corner of the eye open for a softer look. Then, add a circle in the middle of the eye as the iris. Draw a smaller circle—the pupil—in the middle of the iris.
How long should an anime character's legs be?
The legs of an anime character should be approximately as long as the top half of the character, from the top of the head to the waist. Finally, add in the arms. A good rule of thumb is to align the elbow with the character’s waist, and then extend the rest of the arm (including the hand) to about mid-thigh.
How to make a reflection in the eye?
Leave the inner corner of the eye open for a softer look. Then, add a circle in the middle of the eye as the iris. Draw a smaller circle—the pupil—in the middle of the iris. To create primary and secondary light reflections, add in one or two additional circles within the iris.
What is the difference between a character's nose and mouth?
The character’s nose and mouth will typically be much smaller and simpler than the eyes. The nose, for instance, may just be two small lines that represent the nostrils. Similarly, the mouth may be a simple curved line.
What pen do you use to highlight a character?
While you will mostly ink with a black pen, it can also be helpful to have a white jelly pen on hand—you can use this to add highlights, like the reflection points in the character’s eyes. You may also choose to add additional colors with colored pencils or medium of your choice.
How to draw a squid?
Create four small-sized horizontal ovals at the bottom for the paws. Extend lines upwards from the edge of the ovals for the forelegs. Join two lines from the legs to the oval at the back for the body. Join further lines to the ovals for the hind legs. Draw a small curve for the tail.
How to make a lion with a triangle?
Attach a triangle to the top square, which will be the lion’s nose. At the far right of the picture, add a small circle for the lion’s back, followed by 4 small horizontal ovals as the bottom for the lion’s paws. Add lines for the legs and the body, plus a curved line off the back circle for the tail.

Popular Posts:
- 1. what is a tsundere in anime
- 2. is comic con for anime too
- 3. where can i watch the berserk anime
- 4. do all manga become anime
- 5. are the magi anime related
- 6. a anime head
- 7. what anime character would i marry
- 8. a whisker away anime genre
- 9. when did diamond is unbreakable anime come out
- 10. are any anime not adapted from manga