
How to Draw an Anime Character Drawing Close Up
- Sketch a big circle.
- Sketch the face, neck and the shoulder.
- Add the guidelines for the face.
- Draw the basic outline of the face and the ears.
- Add the eyes, nose, and mouth.
- ... (more items)
5 Simple Steps to Drawing Anime
- Step 1: Create the Basic Structure of the Face.
- Step 2: Add Facial Features.
- Step 3: Draw the Hair.
- Step 4: Add the Body.
- Step 5: Add Details and Ink the Drawing.
Apr 22, 2021
How to draw yourself as an anime character?
How to Draw an Anime Character Step 1: Draw the Head. Step 3: Draw Anime Mouth. Step 4: Add the Final Touches. Step 1: Outline the Face.
How to start drawing anime?
Written Resources
- /ic/ Fundamental Art Advice Support Page. If you've never visited 4chan, the site consists of several sub-communities. ...
- Complete Guide on How to Draw Manga. The folks behind Corel Painter, a piece of drawing software used by many artists, offer a collection of art tutorials meant to get ...
- Clip Studio Paint Manga Tutorials. ...
How to draw anime face for beginners?
How to Draw Anime for Beginners: A Step-by-Step Guide
- Create the Basic Structure of the Face First, you will create the general composition of the character’s face. ...
- Add Facial Features Now that you understand the general placement of the facial features, you can draw them in detail. ...
- Draw the Hair When learning to draw anime for beginners, there are a couple of options for how to draw the hair. ...
- Add the Body Next, we’ll explore how to draw anime girl body step by step for beginners. ...
- Add Details and Ink the Drawing
How to cosplay an anime character?
What you’ll need
- Blue wig – Nothing fancy. Just a basic wig will do, and you don’t even have to style the wig much because Rei’s hair is not that flat.
- Free! jacket – Making a jacket may be difficult to do, but you can easily buy one for cheap at a cosplay store, since Free! ...
- Spandex pants – you can just buy regular stretch pants. ...
- Red glasses – Rei wears red glasses. ...
How do you start drawing anime?
Beginner Guide to Drawing Anime & MangaMake Light Line Drawings First. ... Use Guide/Construction Lines. ... Plan Out Your Drawing & Draw Larger to Smaller. ... Keep Different Parts of Your Drawing in the Same Stages of Completion. ... Draw Things That Are Hidden. ... Do Drawing Exercises. ... Study the Anime Style. ... Check for Mistakes.
How do I make an anime character?
0:371:21How to Create Anime Character - YouTubeYouTubeStart of suggested clipEnd of suggested clipYou can then use the crop feature to select just your creation. And save the file just as you wouldMoreYou can then use the crop feature to select just your creation. And save the file just as you would any other image and that is how to create an anime character online.
Which app is best for drawing anime characters?
Chalk. Ibis Paint. Medi Bang Paint. CLIP STUDIO PRO. Jump paint. Draw Anime & Manga. Differences between Anime and Manga.
How do you draw like a pro anime?
It's a good idea to portray the character in the act of doing something that most defines them.Sketch a Wireframe. ... Correct Proportions. ... Outline the Shapes to Create a Skin Layer. ... Draw Facial Proportions. ... Add Clothing, Decoration, and Hair. ... Tidy Your Outlines and Ink Your Drawing. ... Refine Shading and Color.More items...•
Can I create my own anime?
Can I make an anime on my own? Yes, but it will be a tedious process. You could consider getting help from other talented people.
Who created anime?
The history of anime can be traced back to the start of the 20th century, with the earliest verifiable films dating from 1917. The first generation of animators in the late 1910s included Ōten Shimokawa, Jun'ichi Kōuchi and Seitaro Kitayama, commonly referred to as the "fathers" of anime.
Where can I draw for free?
6 Best Free Drawing Software for Artists in 2019SketchBook.Krita.Mischief.MyPaint.Clip Studio Paint.Painter.
How do you draw anime characters on a laptop?
Choose an art software.Free software: FireAlpaca, MediBang Paint Pro, GIMP, Adobe Sketchbook, Krita.Pay software: Paint Tool SAI (Windows-only), Clip Studio Paint (also known as Manga Studio), Adobe Photoshop.
How do I make an anime character on my phone?
Download Avatoon – Your personal avatar creator & emoji maker on Google Play and download Avatoon on App Store now!3. Anime Maker – Creator Your Personal Avatar Face. Anime Maker is another great anime maker app for all you anime fans. ... Character Maker – Create Your Own Cartoon Avatar. ... 5. Anime Avatar Maker 2.
Where can I learn to draw anime?
Skillshare instructor Sensei's course is a great masterclass in anime faces. If you're learning how to draw anime for beginners, Sensei's advice will help you understand the fundamentals of anime characters and draw them with ease. Proportions are important when designing anime faces.
Can you draw anime in art school?
Do Art Schools Accept Anime? Art teachers discourage the creation of anime because they believe students do it just because anime is popular. As such, many art schools will not accept anime during the application process or as assignments once a student is accepted to the school.
How do you make Naruto?
0:038:38How to Draw Naruto- Simple Video Lesson - YouTubeYouTubeStart of suggested clipEnd of suggested clipHey there today i'm going to show you how to draw naruto. So we'll start with the eyes as usual. SoMoreHey there today i'm going to show you how to draw naruto. So we'll start with the eyes as usual. So on the sides.
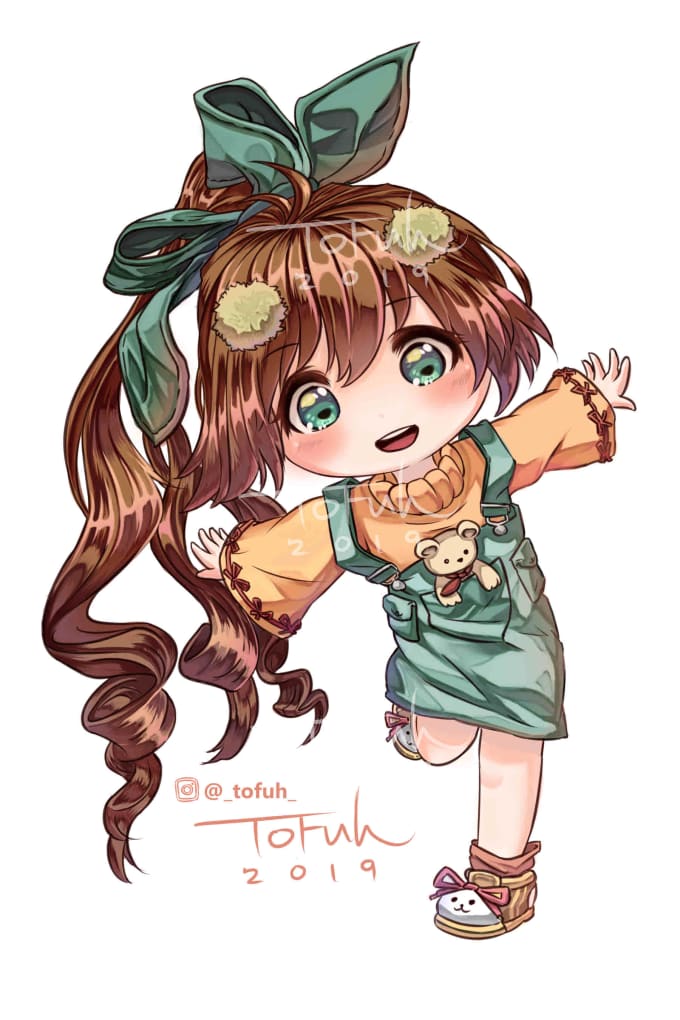
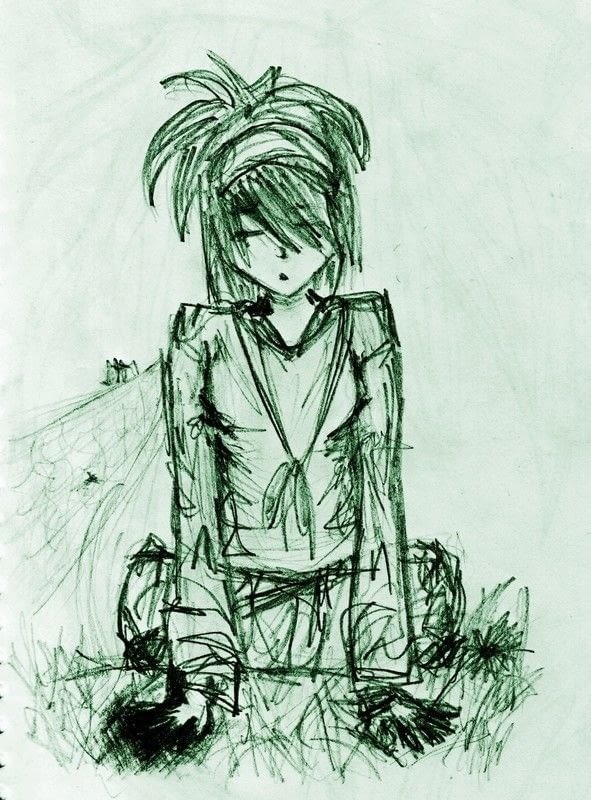
How to draw anime characters?
While artists have varying preferences about how to structure an anime character’s head and face, they all start with the same basic principle: First draw a circle, and then draw a horizontal line and vertical line directly ...
How to draw anime girl eyes?
Start by sketching a curved upper eyelid, then draw a short line extending down from the outer corner of the eye. Leave the inner corner of the eye open for a softer look. Then, add a circle in the middle of the eye as the iris. Draw a smaller circle—the pupil—in the middle of the iris.
How long should an anime character's legs be?
The legs of an anime character should be approximately as long as the top half of the character, from the top of the head to the waist. Finally, add in the arms. A good rule of thumb is to align the elbow with the character’s waist, and then extend the rest of the arm (including the hand) to about mid-thigh.
What pen do you use to highlight a character?
While you will mostly ink with a black pen, it can also be helpful to have a white jelly pen on hand—you can use this to add highlights, like the reflection points in the character’s eyes. You may also choose to add additional colors with colored pencils or medium of your choice.
What is the difference between a character's nose and mouth?
The character’s nose and mouth will typically be much smaller and simpler than the eyes. The nose, for instance, may just be two small lines that represent the nostrils. Similarly, the mouth may be a simple curved line.
How to make a reflection in the eye?
Leave the inner corner of the eye open for a softer look. Then, add a circle in the middle of the eye as the iris. Draw a smaller circle—the pupil—in the middle of the iris. To create primary and secondary light reflections, add in one or two additional circles within the iris.
Face Proportions for an Anime Character
The base character drawing proportions used in this tutorial are shown in the illustration above. If you’ve seen some of the other tutorials here on AnimeOutline you may already be aware of these.
Anime Character Face Drawing Step by Step
To draw any of the characters in this tutorial you can use the steps in the above illustration.
Drawing Tsundere Anime Character
For those that don’t know a tsundere is a character that may act somewhat hostile at times but it actually nice. These types of characters usually have trouble showing their true feelings and get embarrassed when they do.
Drawing a Yandere Anime Character
A yandere is a reverse of the tsundere. A character who appears to be nice and friendly but can actually be quite hostile. The extreme versions of this character can be a downright crazy.
Drawing a Shy Anime Character
These types of characters are usually nice and harmless but may be loners due to being afraid to talk to others.
Drawing a Tough Anime Character
These are often positive characters that may help protect the protagonist but they can also sometimes smack them around. They also tend to be into some sort of martial arts or “kendo” and may often get into fights.
Drawing a Delinquent Anime Character
This type of character can often be a bully/hostile and pick fights. A good hairstyle for the delinquent can be short and maybe slightly messy hair. It will help create a sort of “tomboy” image for the character.
How to draw a neck?
The neck is fairly straightforward: just draw a line from the center of the clavicles towards the ears, and fill the rest as a simple column. As for the back, don't forget about the shoulder blades.
Where is the body divided in anime?
Most of the time, an anime character's body can be divided into halves right at the crotch level. Sometimes, the lower half is made longer to make the legs longer or the torso more robust, but it's rarely shorter (A).
Why is the torso the simplest to draw?
The torso is the simplest to draw because it has big, clear muscle masses, and it doesn't change shape too much.
Why are breasts so tricky to draw?
Step 8. Breasts can be tricky to draw, because they're not really what they seem . They're soft masses, affected greatly by gravity, not simply firm balls attached to the chest. They don't really have one solid shape—it changes all the time with the pose.
Is there a right or wrong proportion in anime?
However, while there are no right and wrong proportions, there are intentional and unintentional ones.
Is it easy to draw anime?
So while drawing anime characters is easier than drawing realistically, it's still not easy! In this tutorial, I will show you the basics of drawing the bodies of anime characters. I'll show you how to start a manga drawing—how to define a pose for your character and how to make sure the proportions are correct.
Why are proportions important in anime?
Anime drawing and character design is unique in that it allows for open-ended creativity while still remaining within standard design principles, like proportions.
Is it easier to draw anime feet or hands?
According to Skillshare instructor Pluvias, drawing anime feet is actually easier than learning how to draw anime hands. In this course, she will show you how to create feet for your anime character from different angles and positions. 14. Anime Clothes.
Popular Posts:
- 1. when do anime episodes come out
- 2. a-tan anime
- 3. did fairy tail end anime
- 4. a ghost story anime
- 5. cuánto cuesta hacer un anime
- 6. how to draw an anime girls face
- 7. are you an airhead anime
- 8. how to draw wrinkles on clothes anime
- 9. have sex anime
- 10. what is the most known anime in the world